Bootstrap Checkbox Example
Intro
In certain cases the simplest things may possibly become extremely important-- especially each time you get to need them. For instance how do your visitors interact with the pages you build claiming a simple Boolean act-- simply just yes or no pertaining to some of the issues you need to request, how they do approve the conditions or maybe line up a handful of the achievable preferences they might possess. We often surpass this without paying a lot of an consideration to the component responsible for these types of actions but the Bootstrap Checkbox Toggle is really a quite significant element-- one our forms cannot in fact do without.
In the latest fourth edition of the Bootstrap platform we are presented with the
.form-check.form-check-label<div>.form-check.form-check-label<label><input>.form-check-inputThe way to utilize the Bootstrap checkbox:
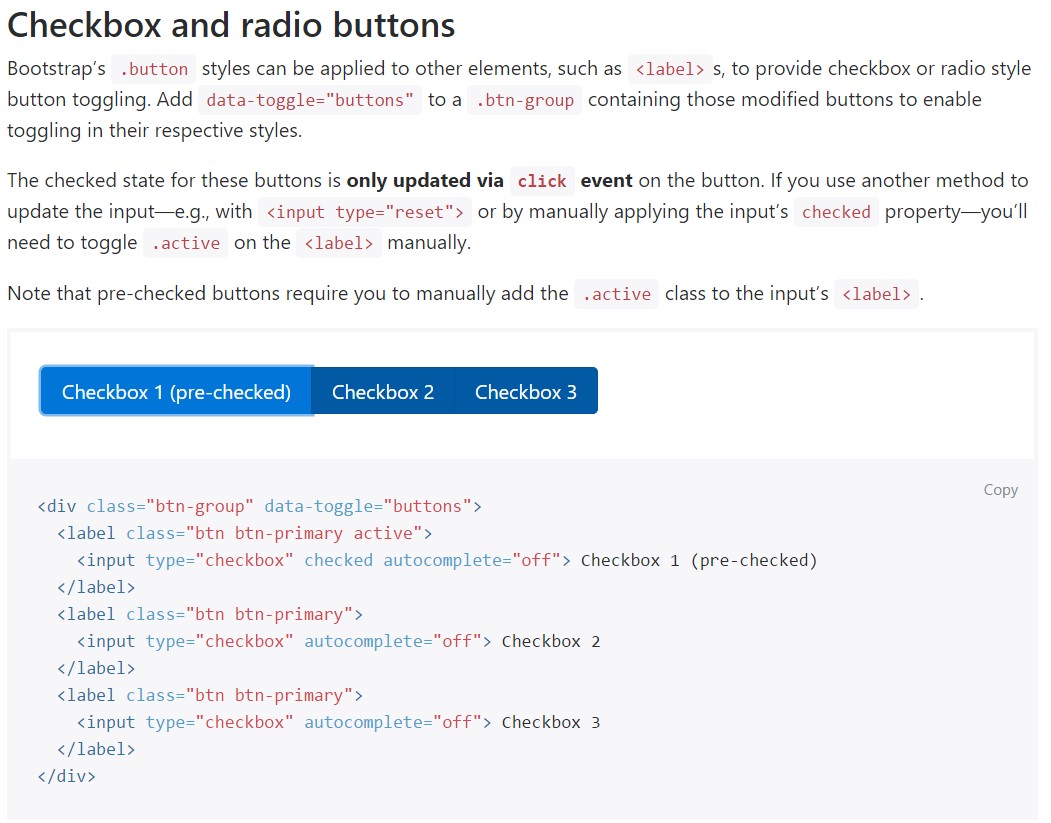
The checked condition for these types of buttons is only improved via click event on the button. If you apply one more procedure to upgrade the input-- e.g., with
<input type="reset">.active<label>
<div class="btn-group" data-toggle="buttons">
  <label class="btn btn-primary active">
    <input type="checkbox" checked autocomplete="off"> Checkbox 1 (pre-checked)
  </label>
  <label class="btn btn-primary">
    <input type="checkbox" autocomplete="off"> Checkbox 2
  </label>
  <label class="btn btn-primary">
    <input type="checkbox" autocomplete="off"> Checkbox 3
  </label>
</div>
From time to time we really need the checkboxes to be in our forms without the customer truly having the capacity to make any sort of action clicking them-- that is really where exactly the disabled option shows up.
In order to disable properly a checkbox in Bootstrap 4 using the common HTML attribute
disabledIn case that you find appealing the tip and simply wish to carry this out you should assign the
.disabled.form-checkA different scenario
When working with checkboxes, wrap all of them in a
<label>.custom-control.custom-checkboxUtilize
.custom-control-input<input>As well apply two
<span>.custom-control-indicator.custom-control-description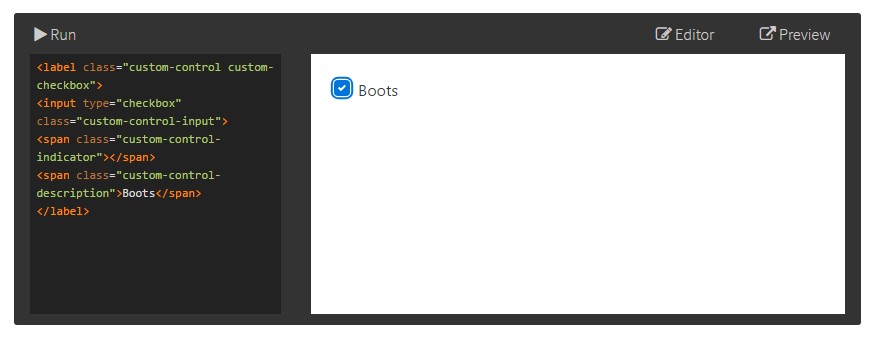
<label class="custom-control custom-checkbox">
<input type="checkbox" class="custom-control-input">
<span class="custom-control-indicator"></span>
<span class="custom-control-description">Boots</span>
</label>
Bootstrap Checkbox Label forms
Default radios and checkboxes are greatly enhanced upon with the help of
.form-checkThe disabled class is going to additionally make lighter the text color to help specify the input's state.
A fresh element for the Bootstrap version 4 system is the launch of the so called custom-made form components. These are the similar components we are known within capability but styled even more interesting and also in the Bootstrap way. Utilizing them you can surely add certain spice as well as style to your web content via simply just delegating a number of supplemental classes to the commands you incorporate in your forms.
For you to utilize custom made checkboxes wrap them in a
<label>.custom-control.custom-checkbox<input>.custom-control-input<span>.custom-control-indicator.custom-control-descriptionConclusions
That's practically all you need to execute in order to set a checkbox component for your Bootstrap 4 powered websites and bring in certain customized flavor to it bring in it a fancy looks. Now all you need to do is repeat the exercise until you have actually reviewed every one of the checkboxes needed are already on the webpage.
Review a few online video training about Bootstrap checkbox
Related topics:
Bootstrap checkbox approved information
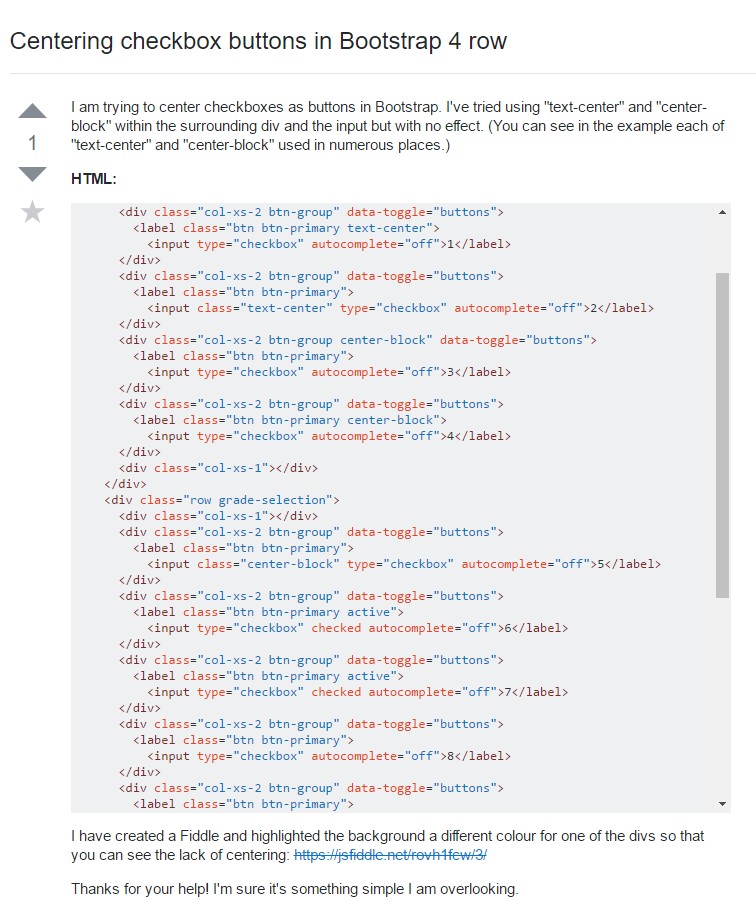
Centering checkbox buttons in Bootstrap 4 row
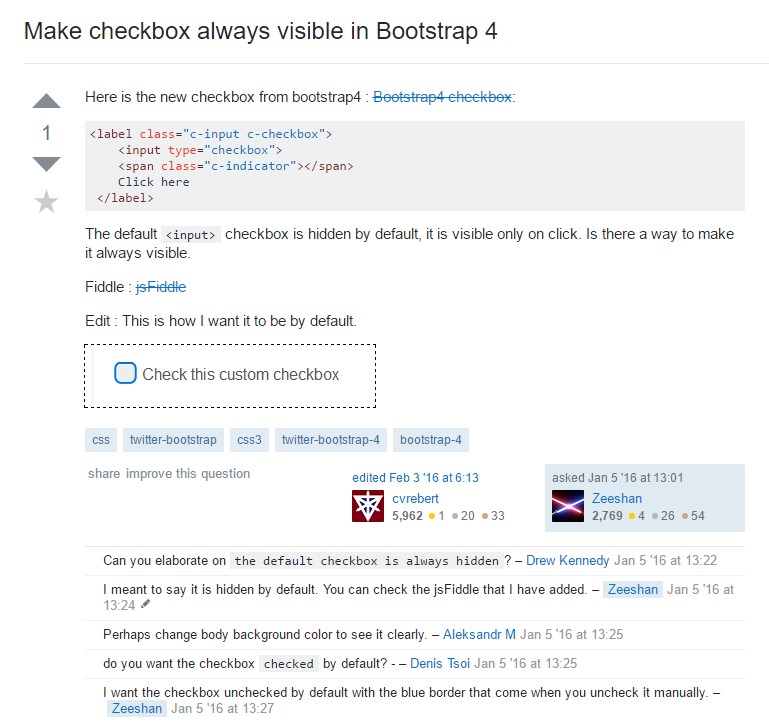
Make checkbox always visible in Bootstrap 4